
Chocolate Chip Cookies
- Ravneet Gill

- Jun 22, 2021
- 3 min read
Some of you are only here for the cookies, and that's OK. As long as there is joy generated in some way then we're good.
In week 2 of the beginners baking course we talk biscuits and brownies. More specifically in the theory sheets and chats we break down the difference between baking powder, bicarb and the effects of each one on a bake. How you can waltz into a bakery, taste something and figure out which rising agent (if any) has been used. Our goal in teaching here at DJA is always to teach through signs, and how you can use the information and knowledge taught on the course to further your skills in your culinary journey.
This cookie recipe got a bit of attention during lockdown, one of those right place right time typa things. I first started making and testing cookies for sale during my time at Llewelyns with Chef Mattie as my taste tester. Below is an exerpt from my book and the recipe, enjoy!
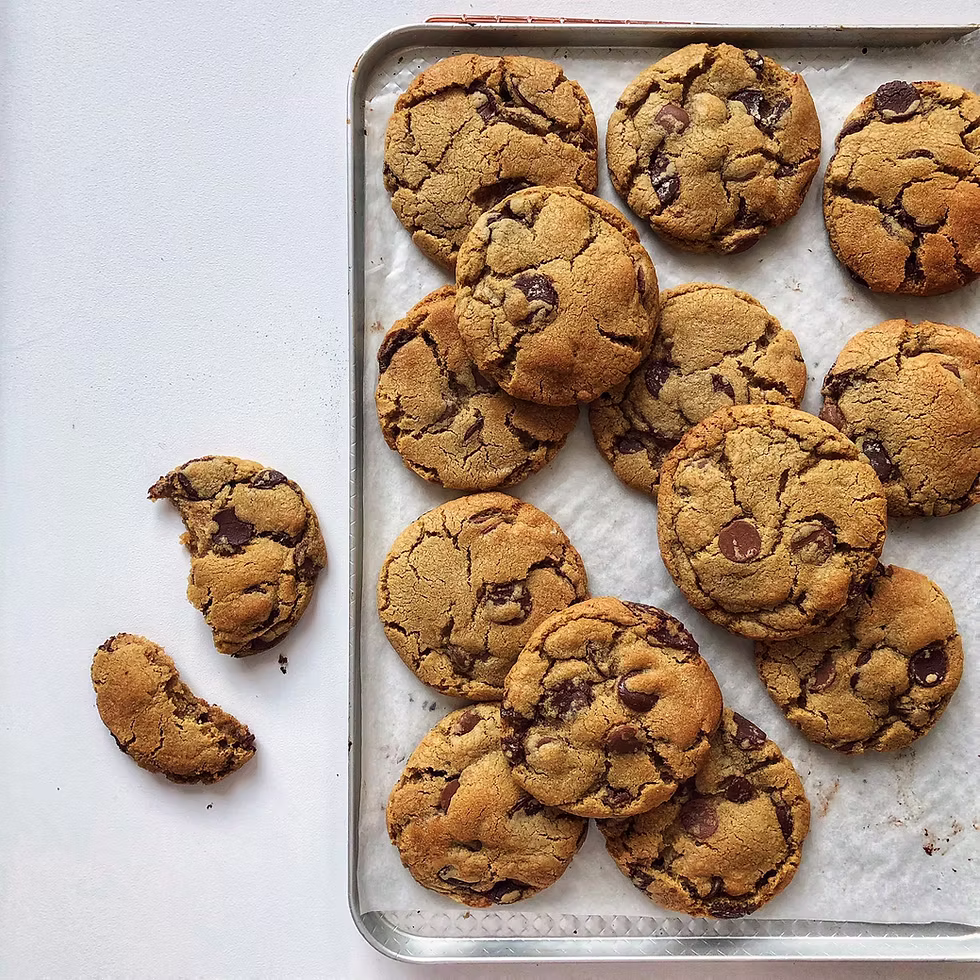
"I think cookies are quite a personal thing, some people like them crunchy, others soft, others crispy on the outside and soft in the middle. I really enjoy a cookie that can hold it’s shape but when you break it in the middle it’s got a slight softness to it, with a really generous amount of dark chocolate chips and a touch of sea salt.
I found one of the biggest factors that affected my cookie (other than the recipe) was the resting period. Try it for yourself if you want to see the difference. If you cook a cookie without allowing the mix to set back up again (preferably overnight) the cookie will be chewier and thinner, often the butter will seep out from the edges which is also losing you flavour. Allowing the mix to set overnight in the fridge allows for the cookie to hold its shape better in the oven.
I even found a difference in result depending on what point I balled the dough up. I found that balling the dough up immediately and then resting in the fridge overnight led to a cookie with a nice bump in the middle, resting the dough overnight and then balling up and re setting in the fridge led to a more flatter biscuity cookie.
Below I’ve written some details on how I achieved (in my eyes) the perfect cookie!"
Chocolate chip cookies
Makes: 14 cookies at 60g each + a baby one
Recipe:
140g butter, softened
140g dark brown sugar
110g caster sugar
1 egg
3g baking powder
4g bicarb
3g maldon salt
250g plain flour
180g dark chocolate chopped into large chunks
1. Cream the butter and sugars together until pale. Do not mix for too long, you don’t want the butter and sugar to be super light and fluffy, over beating at this stage will cause the cookie to deflate later when cooking. Use a stand mixer or a bowl and wooden spoon
2. Mix the dry ingredients together in a separate bowl
3. Add the egg into the sugar mix and beat together quickly
4. Add the dry ingredients to the above and mix quickly
5. Add the chocolate and mix until evenly distributed
6. Ball this up immediately in to 60g balls and freeze on a tray lined with parchment paper
7. Once frozen you can store these in an airtight container
8. Or if you want to bake the next day, ball them up in the same way but place them in the fridge. Always rest your cookie dough overnight before baking, you will have a completely different product if you try to bake on the same day without sufficient cooling.
9. The next day, preheat the oven to 160 degrees fan.
10. Space these dough balls out onto a baking tray lined with parchment,
11. Bake for 12 minutes if cooking from the fridge, allow for 14 minutes if coming from the freezer
12. Take the tray out of the oven and allow them to rest on the tray, they will continue to cook partially. Once cooled eat them!!
Note – if your oven isn’t as powerful add an extra minute on, also bear in mind that you want the middle to be ever so slightly under set to add to the texture once cooled.
Storage: The balls last in the fridge for 2 days, freezer for 2 weeks, once baked 3 days at room temp
Photo credit: Felicity Spector
I love this cookie, but I can't seem to get them to keep their shape. I baked from frozen and they rose and expanded and became more like a flat crispy cookie. Any tips to help stop them expanding so much?
This is hands down the best cookie recipe. Add marshmallows..yummm !
Tried, tested, agreed. The BEST cookie recipe.
Best cookies ever!